Easy Steps to Make Cow Cake for Birthday
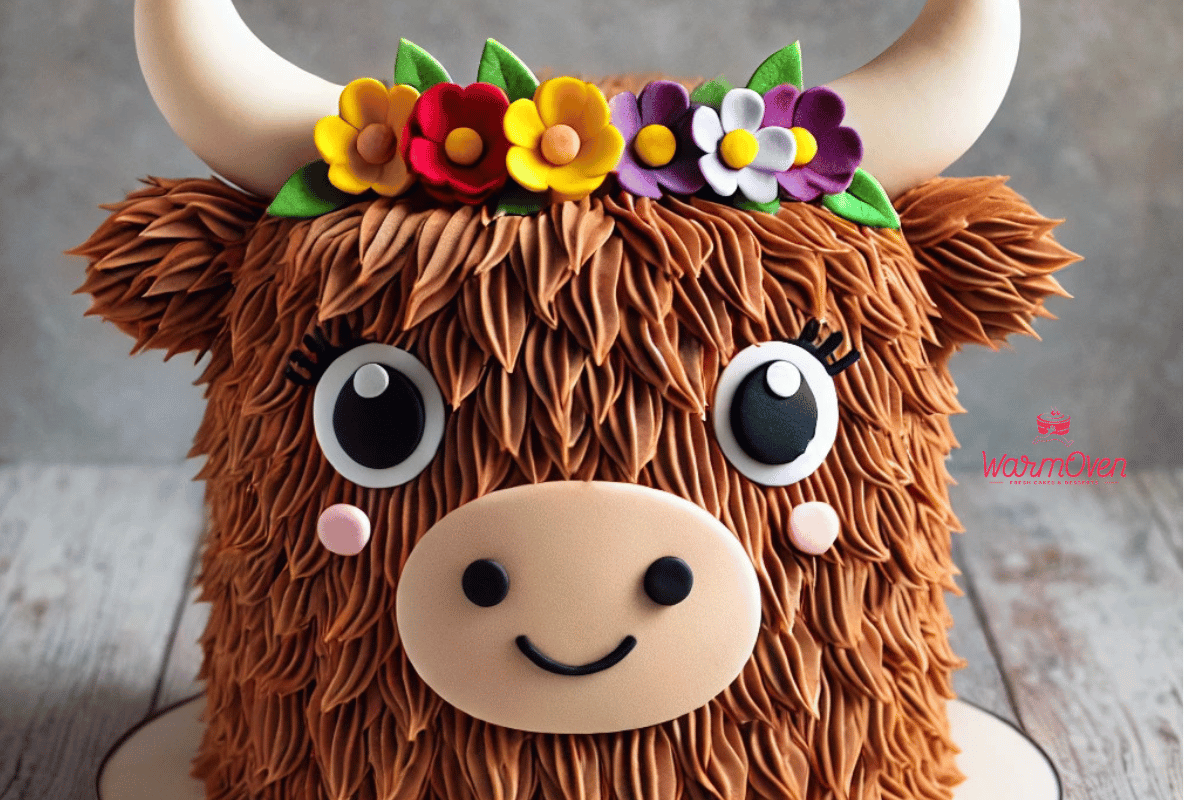
Celebrating your child’s birthday is always special, and what better way to make it memorable than with a fun, themed cake? If you’re thinking of an adorable cow cake design, you’re in the right place! In this guide, I’ll walk you through the process, from gathering ingredients and tools to perfecting the cow cake design.
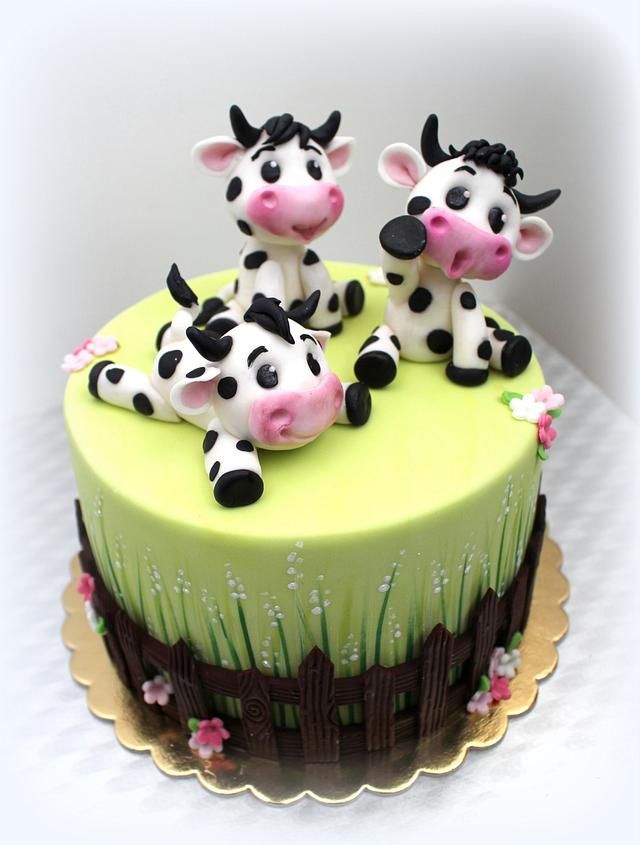
By the end, you’ll know exactly how to bake, decorate, and give the final touches to create a cow cake design that’s both delicious and picture-perfect.
Cake Details
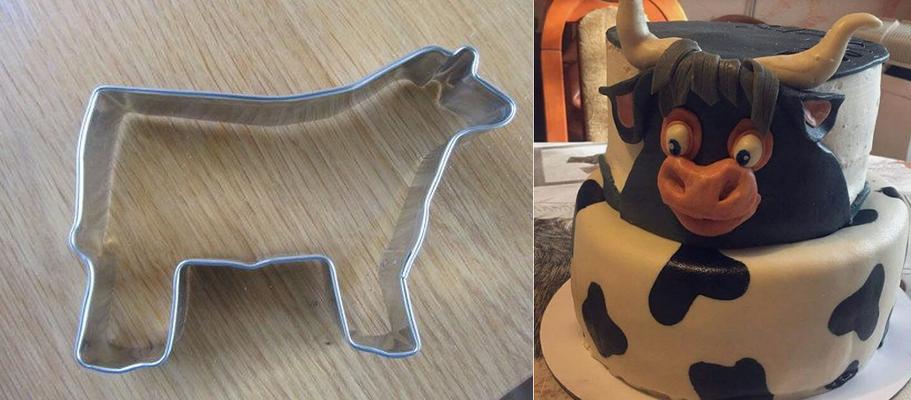
A cow cake design is the perfect mix of fun and whimsy for your child’s birthday, and using the cow cake pan makes it incredibly easy.
This cake combines playful elements, making it ideal for a significant milestone. You want an Instagram-worthy centrepiece that tastes fantastic.
Cow cake pan brings the design to life. This pan features durable, lightweight plastic construction and works in conventional ovens and microwaves, ensuring an even bake and easy release. It takes the stress out of cake-making so that you can focus on the fun part—decorating!
Read our blog on 2-tier cake decorating ideas.
Now that you know the details of the cow cake design, let’s gather the ingredients and tools needed to make it a reality.
Ingredients and Tools
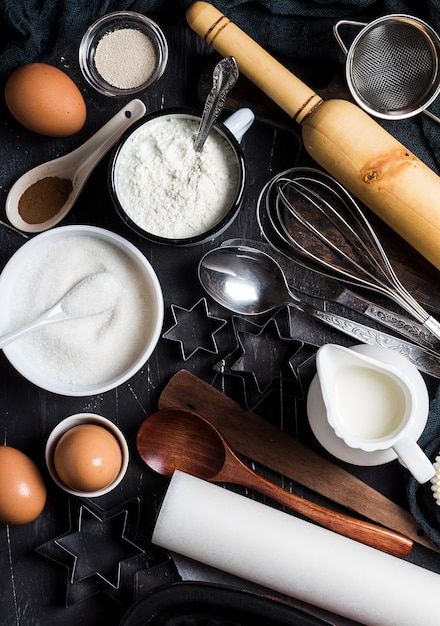
Here’s a detailed list to ensure your cake looks fantastic and tastes delicious.
Ingredients
To start, you’ll need to gather a few essential ingredients to help you achieve that perfect cow cake design. Here’s what you’ll need:
- White Frosting: This will serve as the base for the cow’s body. Smooth white frosting will give you a clean canvas, resembling a cow’s natural color.
- Gold Sparkly Gel: To add that extra flair to your cake, use gold sparkly gel to highlight specific areas and make your cow cake shine. You can add this around the edges or for small details like the cow’s bell or ears.
- Wilton Decorating Pens: These are ideal for outlining and drawing fine details like the cow’s eyes, mouth, or spots. Decorating pens give you precision and control, allowing you to bring your cow to life easily.
- Cake Batter: Whether you prefer a simple vanilla sponge or a more decadent chocolate cake, make sure your batter is light and moist, as it forms the foundation of your cow cake design. WarmOven offers fresh, ready-made cake mixes that make baking quick and hassle-free.
Tools
The right tools will make decorating much easier and help you create the best cow cake design. Here’s what you need:
- Wooden Pick: Use a simple wooden pick to add texture to some aspects of the cake, like the grass or fur. It’s also handy for making minor corrections if you need to touch up any details.
- Spatula: A spatula helps you spread the frosting evenly across the cake’s surface, giving it a smooth, professional finish. Make sure you have one with a flat edge for precise application.
- Piping Bags and Tips: For more intricate designs, like creating grass effects or fine details on the cow’s face, piping bags and tips allow you to customize your design easily.
You might like reading about delicious buttercream cake ideas.
Now that you’ve gathered all the essentials, it’s time to move on to the fun part—baking your cake! Let’s dive into the simple steps to get your cow cake design off to a great start.
Baking the Cake
Here’s how to do it right, ensuring your cow-themed cake is delicious and picture-perfect.
Preparing the Batter
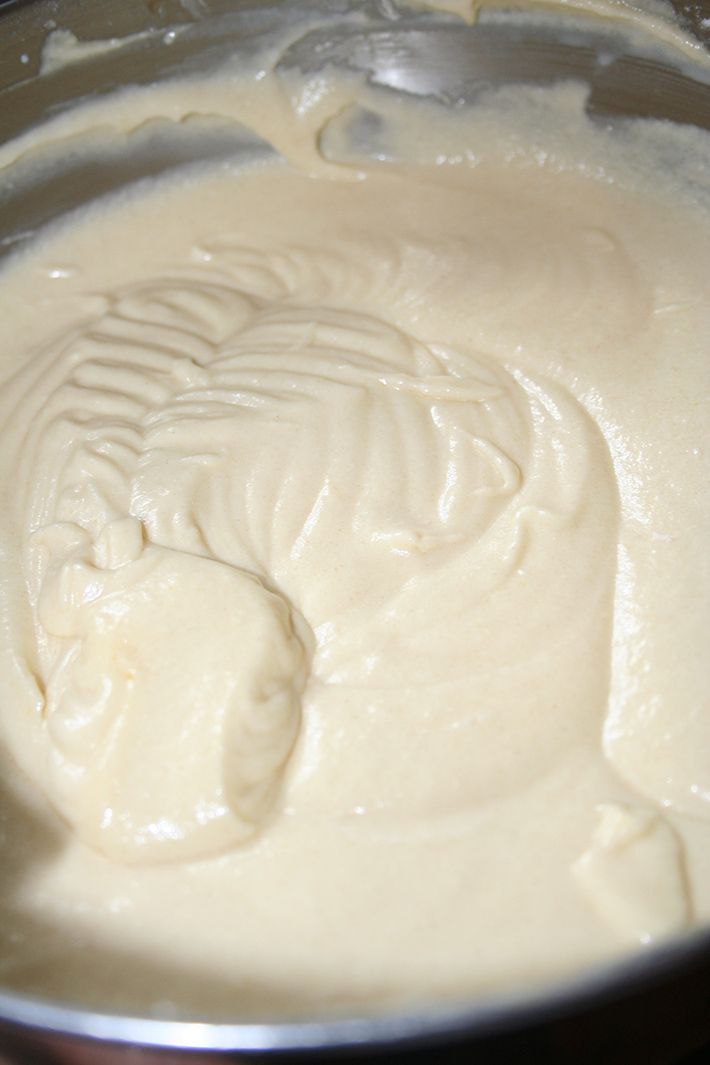
Start by preheating your oven to 350°F (175°C). Next, prepare your cake pans by lining them with parchment rounds and greasing them with non-stick baking spray or your preferred cake release method. You can use a marble cake recipe that alternates chocolate and vanilla batter to make a cow cake. Begin by alternating spoonfuls of chocolate and vanilla cake batter into the prepared pans. Aim to fill the pans roughly one inch high with the batter to ensure even baking and a lovely marbled effect.
Pouring into the Pantastic Cow Pan
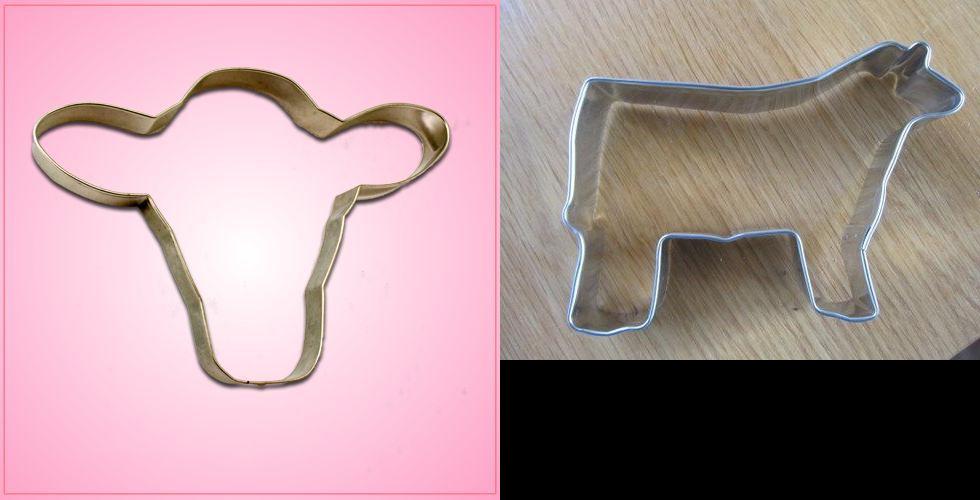
The Cow pan is a specialized cake pan designed to create a cow-shaped cake, adding a fun, thematic touch to your celebration. Start by preparing the cow pan as you did with your regular cake pans: grease it with a non-stick baking spray or your cake release of choice. With your batter ready, carefully pour it into the cow-shaped pan. Be sure to fill the pan to the recommended level specified. Use a spatula to smooth the batter, and distribute it evenly within the pan for consistent baking.
Baking the Cake
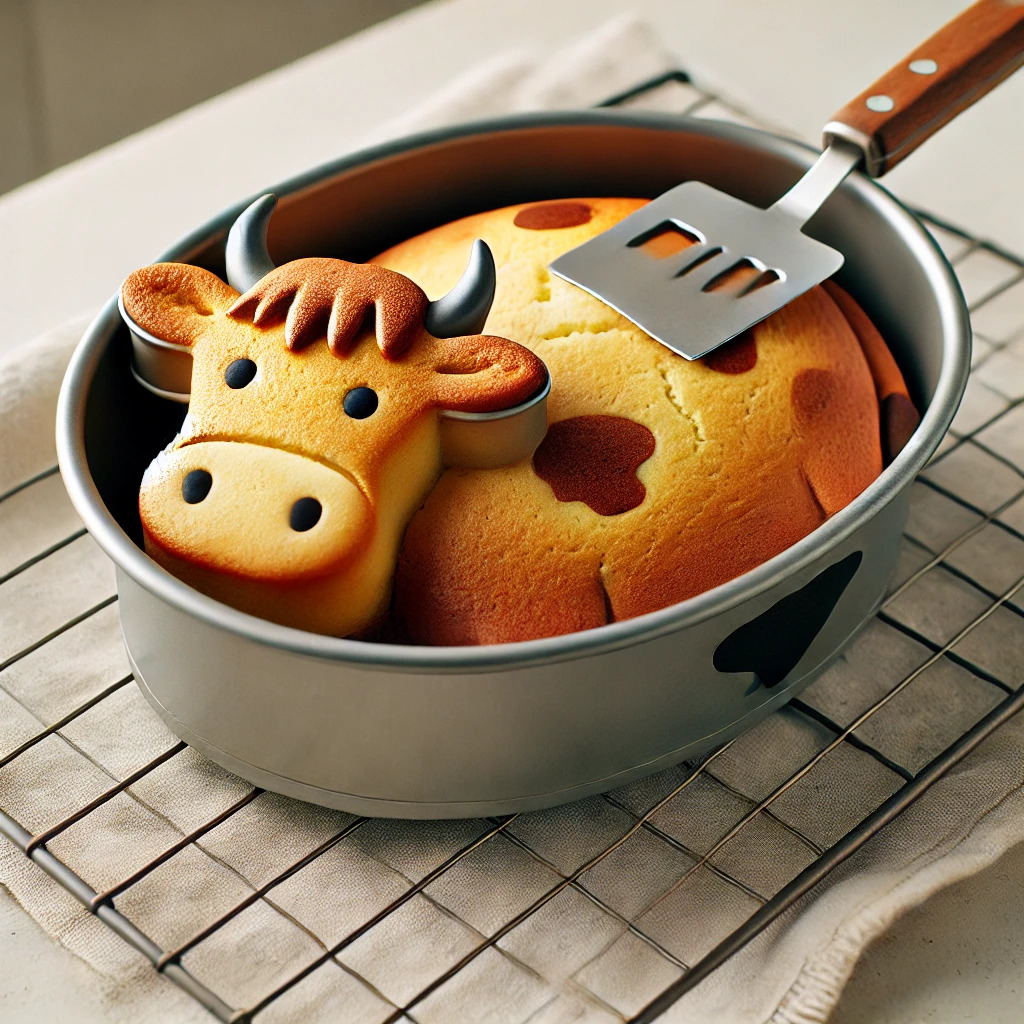
Once your batter is in the pan, it’s time to bake. Follow the cow pan’s instructions or general guidelines: bake until 33-35 minutes until a skewer comes out with a few moist crumbs.
After baking, allow the cake to cool in the pan for about 10 minutes. This resting time lets the cake set and makes it easier to remove from the pan. Run an offset spatula around the perimeter of the cake to gently loosen it from the sides of the pan. Then, flip the cake onto a wire rack to finish cooling completely before decorating.
Let’s discuss the second most significant part of cake-making.
Decorating the Cake
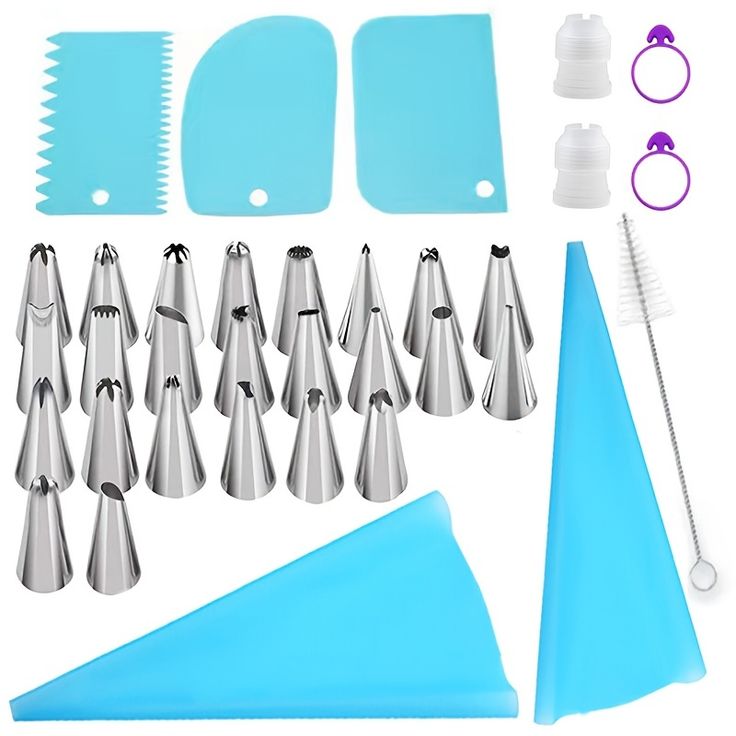
Decorating might seem the most intimidating, but with the right tools and creativity, you’ll find it easier than you think. Let’s break down each step to help you create a fun and detailed cow cake that will wow everyone at the party.
Cover the Cake in White Frosting
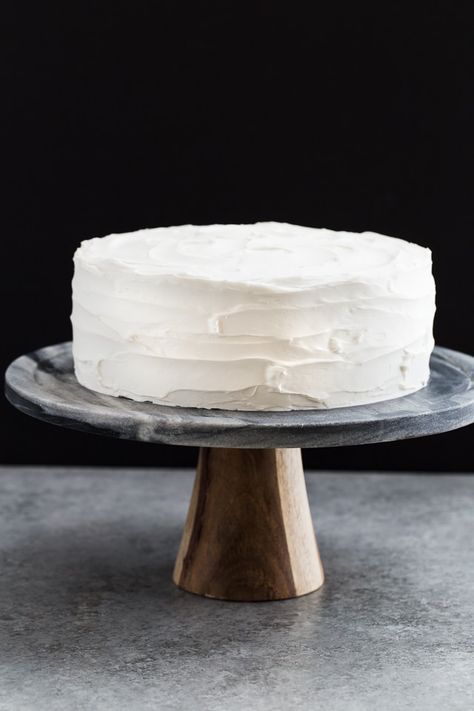
Start by applying a smooth layer of white frosting over the entire cake. You’ll want to use enough frosting to create an even surface while preserving the natural cow shape. A small offset spatula works well for this step, helping you get into the curves and edges without disrupting the cake’s structure. If you have a piping bag, use it for added precision, ensuring every inch is covered.
Redefine the Cow’s Details
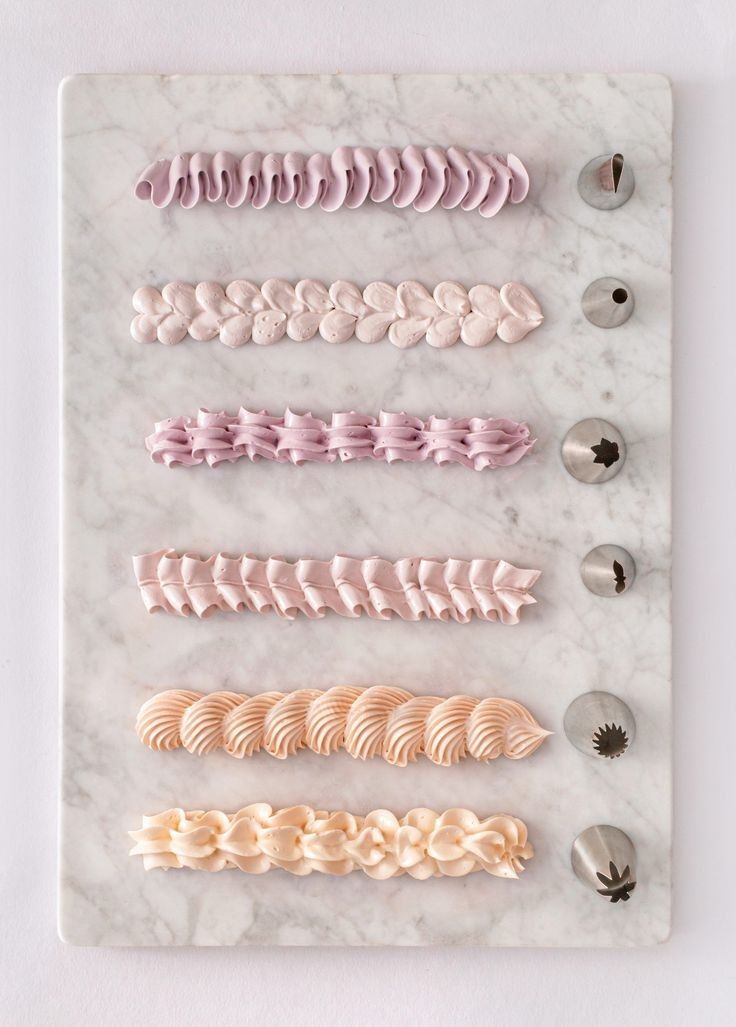
Some of the cow’s facial features and outlines might get lost during baking. Don’t worry! Grab your decorating pens or a fine-tip tool to gently re-etch those lost details. This could include the ears, nose, or eyes of the cow. This step will ensure that your cow cake design stands out and has all the distinct features of a cow.
Use Decorating Pens for Enhancing
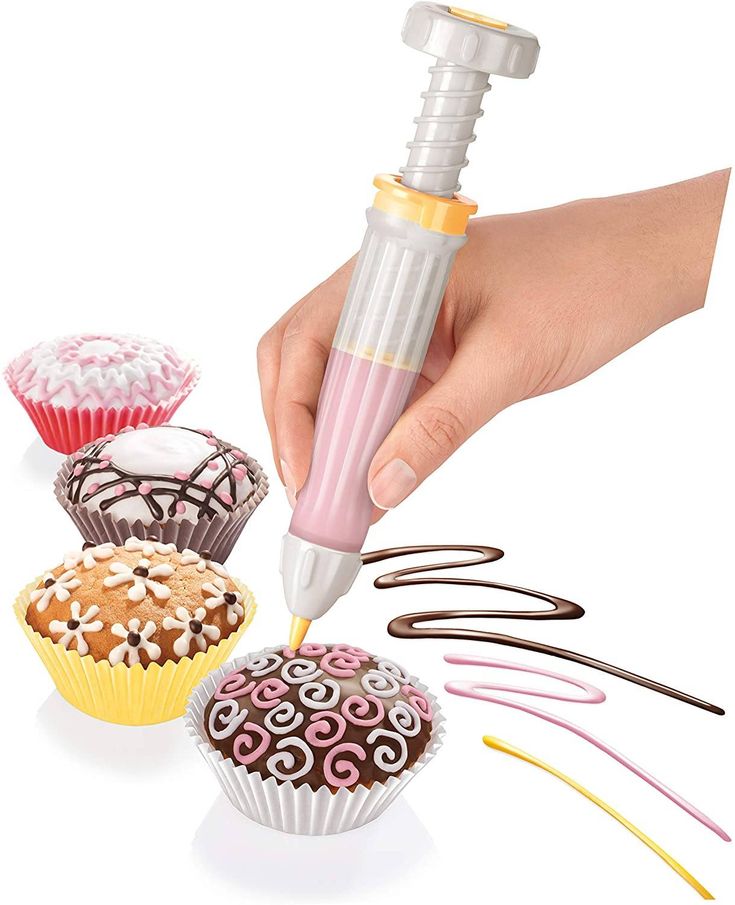
Once you’ve outlined the cake, use Wilton decorating pens to fill in the necessary details. Black pens outline the spots, nose, and eyes perfectly, while lighter shades like pink or brown can add character to the cow’s features. The key here is to work slowly and follow the natural lines of the cow to make it look realistic. These pens make decorating easy, especially for a design where precision is essential.
Add Gold Sparkly Gel Details

For a fun, celebratory touch, use gold sparkly gel to highlight specific cake parts, like the cow’s nose or even the spots. This will give your cake a bit of shine and glam, perfect for adding that special touch to a birthday celebration. You can also use gold accents around the edge of the cake for a finished look.
Texture the Grass with a Wooden Pick
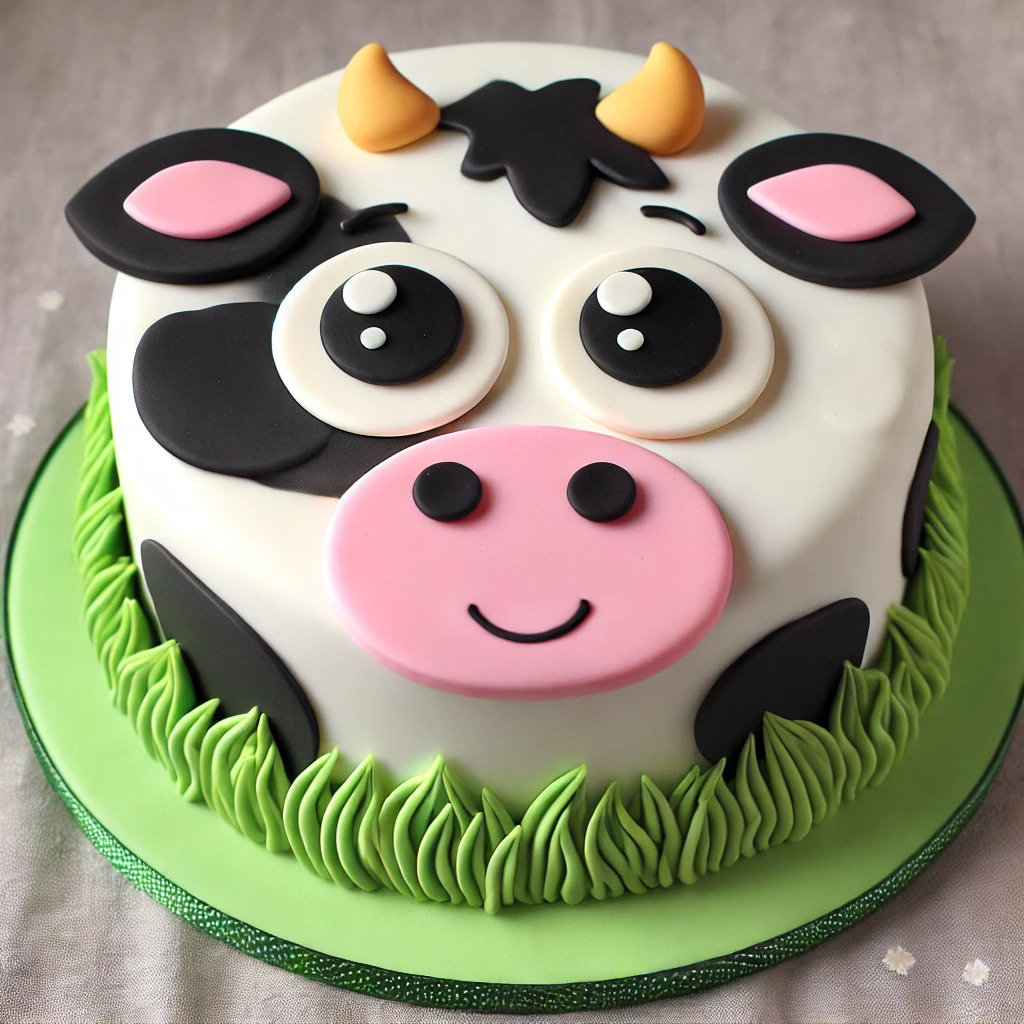
A great way to add depth to your cow cake design is by using a wooden pick to create textured grass around the base of the cake. You can tint the white frosting green and then gently drag the wooden pick through it, making small swipes to resemble blades of grass. This simple technique adds extra creativity to your cake while maintaining an easy-to-follow process.
Remember, practice makes perfect. Keep trying if it doesn’t turn out exactly as you envisioned the first time. Each attempt will improve your skills, making you a cake-decorating pro in no time.
Watch this tutorial on decorating a cow-themed birthday cake.
Let’s add the final touches to make the cake stand out for the celebration.
Final Touches
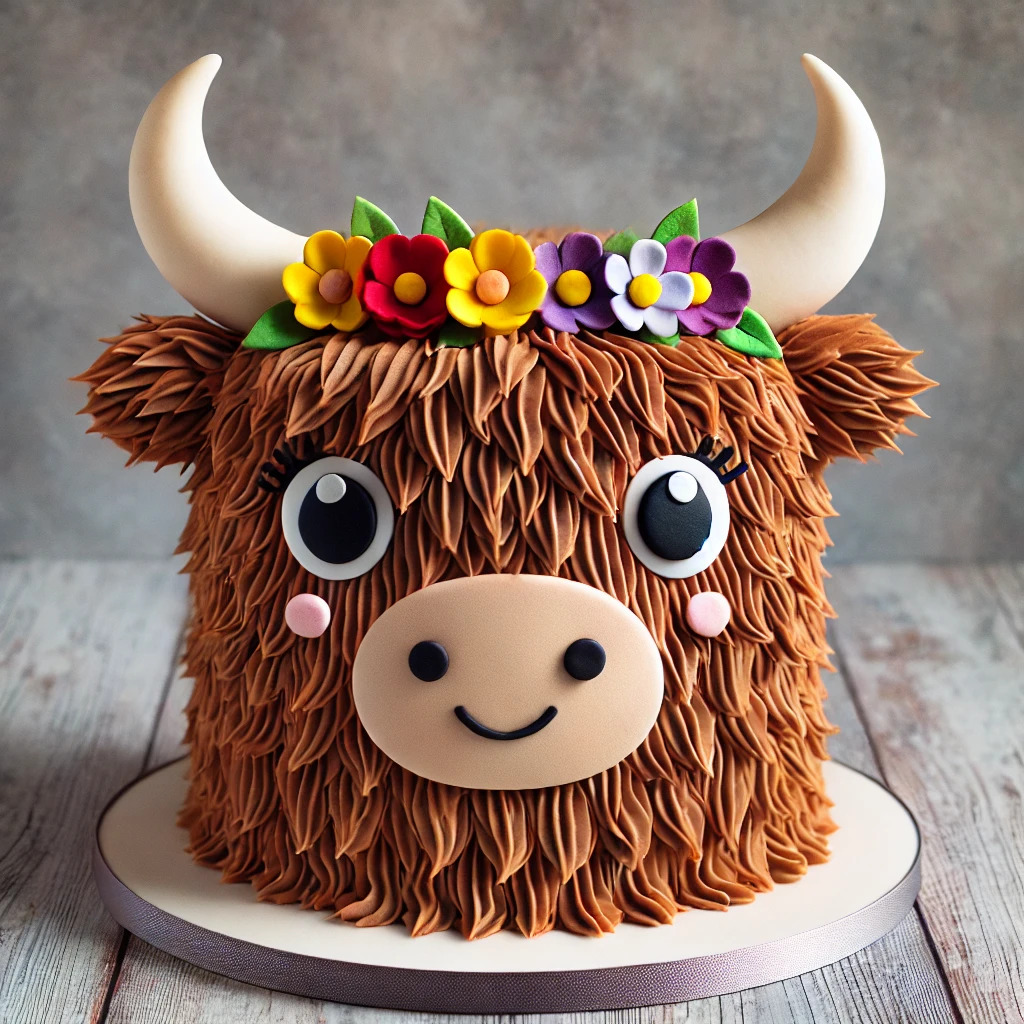
After all the hard work of baking and decorating, it’s time to add the final touches to make your cow cake design stand out. These small details can elevate your cake from good to great.
Add Any Extra Decorations
Your creativity shines in the finishing touches. You can add colorful sprinkles, edible pearls, or small fondant figures to give your cake extra charm. Add playful farm-themed decorations around the cow cake design if your theme allows it to match the overall look. Use safe ingredients and accessories that complement your cake’s taste.
Write a Birthday Message
No birthday cake is complete without a heartfelt message! Use a decorating pen or piping bag to write the birthday person’s name and a simple “Happy Birthday” on the cake or board. Choose a contrasting color that stands out against the white frosting of the cow cake design—this will make the message pop and be easy to read.
Inspect for Final Adjustments
Take a step back and inspect it from all angles. Look for small areas that need a touch-up—maybe a smudge in the frosting or a part of the cow’s face that needs more definition. You can quickly fix these with a small offset spatula or a clean toothpick. Ensuring these final details are polished will give your cake that professional finish.
Watch this video for more insights on decorating cow cake.
Let’s discuss some tips for presenting your cow cake to the guest.
Presentation
Presentation can often make or break a cake, and showcase your cow cake beautifully by placing it on a decorative board. This step is crucial for catching the eye and tying the cake to the theme. Imagine a barn-themed board for your cow cake. It enhances the rustic feel and adds a professional touch, making the cake stand out instantly.
Add complimentary birthday décor. Coordinate with decorations that carry the cow or barn theme. Think of matching balloons, streamers, and rustic elements like small hay bales or miniature farm tools. If you’re hosting a barn-themed party, these additional details can make a big difference, pulling everything together in a cohesive look.
If the event is outdoors, consider the environment. Use a sturdy cake stand to prevent mishaps. Outdoor elements like flowers or potted plants can complement the rustic theme and make the presentation even more impressive.
Check out our guide on buttercream flower and piping techniques.
Let’s dive deep into storing the cake to prevent it from getting stale.
Storing the Cake
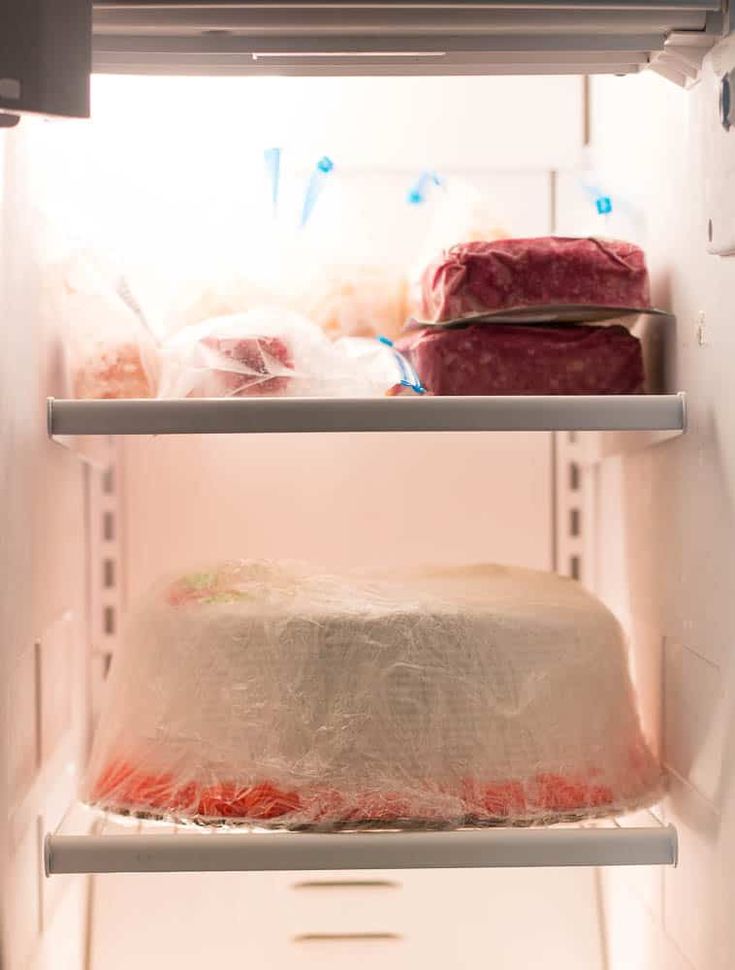
Ensure your cow-themed birthday cake stays fresh until you serve it. Here are some essential tips for storing your masterpiece:
- Store in a Cool Place: The first rule of storing cake is to keep it in a cool, dry location. Direct sunlight and heat can quickly spoil your cake, so avoid placing it near windows, ovens, or stoves. A cupboard or pantry works well, provided it’s not too warm inside.
- Cover with a Cake Dome or Plastic Wrap: Air is a cake’s worst enemy. It can dry out your cake and speed up its staleness. Cover your cake with a cake dome or wrap it tightly in plastic. It will create a barrier that keeps air out and moisture in, helping maintain the cake’s delicious texture and flavor.
- Avoid Refrigeration: This might surprise you, but Refrigeration can cause the flour’s starch molecules to recrystallize, leading to a dry and stale cake. Keep your cake out of the fridge unless it has a perishable filling like custard or fresh fruit.
- Freeze for Longer Storage: If you need to keep the cake for over three days, freeze it. Wrap the cake tightly in plastic wrap and place it in a freezer-safe container. Thaw the cake at room temperature when it’s time to enjoy it.
- Keep it Away from Strong-Smelling Food: Cakes tend to absorb odors from nearby foods. Store your cake away from onions, garlic, or fish to prevent it from absorbing strange smells.
- Check the Cake Regularly: Even with all these precautions, it’s important to inspect your cake regularly. Look for any signs of spoilage, such as mold or an off smell. Discard the cake and bake a new one if you notice anything amiss rather than risk serving it to your guests.
Frequenlty Asked Questions
1. How do I create the cow shape for my cake?
You can bake the cake in round or rectangular tins and use a knife to cut out the shape of the cow’s head or body. Alternatively, you can use molds shaped like cows to make it easier.
2. What’s the best way to decorate a cow cake?
You can use fondant for a smooth, professional look or buttercream for a textured finish. Add fondant details for the eyes, ears, and nose. You can create black spots using fondant or food coloring gel to complete the look.
3. Can I make a cow cake without special tools?
Yes! You don’t need any fancy tools to create a cow cake. A simple spatula for spreading icing and a sharp knife for cutting shapes can do the trick. You can also use items like cookie cutters to shape fondant details.
4. What flavors work best for a cow cake?
Chocolate, vanilla, and strawberry are popular choices. You can even mix and match layers for a fun twist. The key is to choose flavors that your audience will enjoy.
5. Can I make a cow cake gluten-free or vegan?
Absolutely! To meet dietary restrictions, substitute gluten-free flour or a vegan cake recipe. You can also find dairy-free alternatives for icing and fondant to accommodate vegan requirements.
1. How long does it take to bake a cake?
A standard cake usually takes about 30-40 minutes to bake, depending on it’s size and type. Always check the recipe for specific baking times.
3. How do I make my cake moist?
Avoid overbaking to keep your cake moist. For extra moisture, add ingredients like yogurt, oil, or sour cream to the batter.
Conclusion
Now that you’ve learned how to make cow cake, it’s time to recap the steps. First, gather ingredients, follow the baking process, and create cow-themed decorations. Remember, the most fun part of any cake is getting creative with how you design it. Whether you want to stick to classic styles or try something unique, let your imagination run wild. You can also take inspiration from Thomas’s cake design to add a personalized touch to your creation.
As you enjoy the cake with friends and family, consider WarmOven’s services for your next event. WarmOven offers a variety of freshly baked cakes, pastries, and desserts and provides hassle-free 2-hour doorstep delivery on regular cakes and 1-day delivery for custom cakes. Don’t miss out on their 10% discount on orders above ₹700/-—perfect for your next special occasion.

